
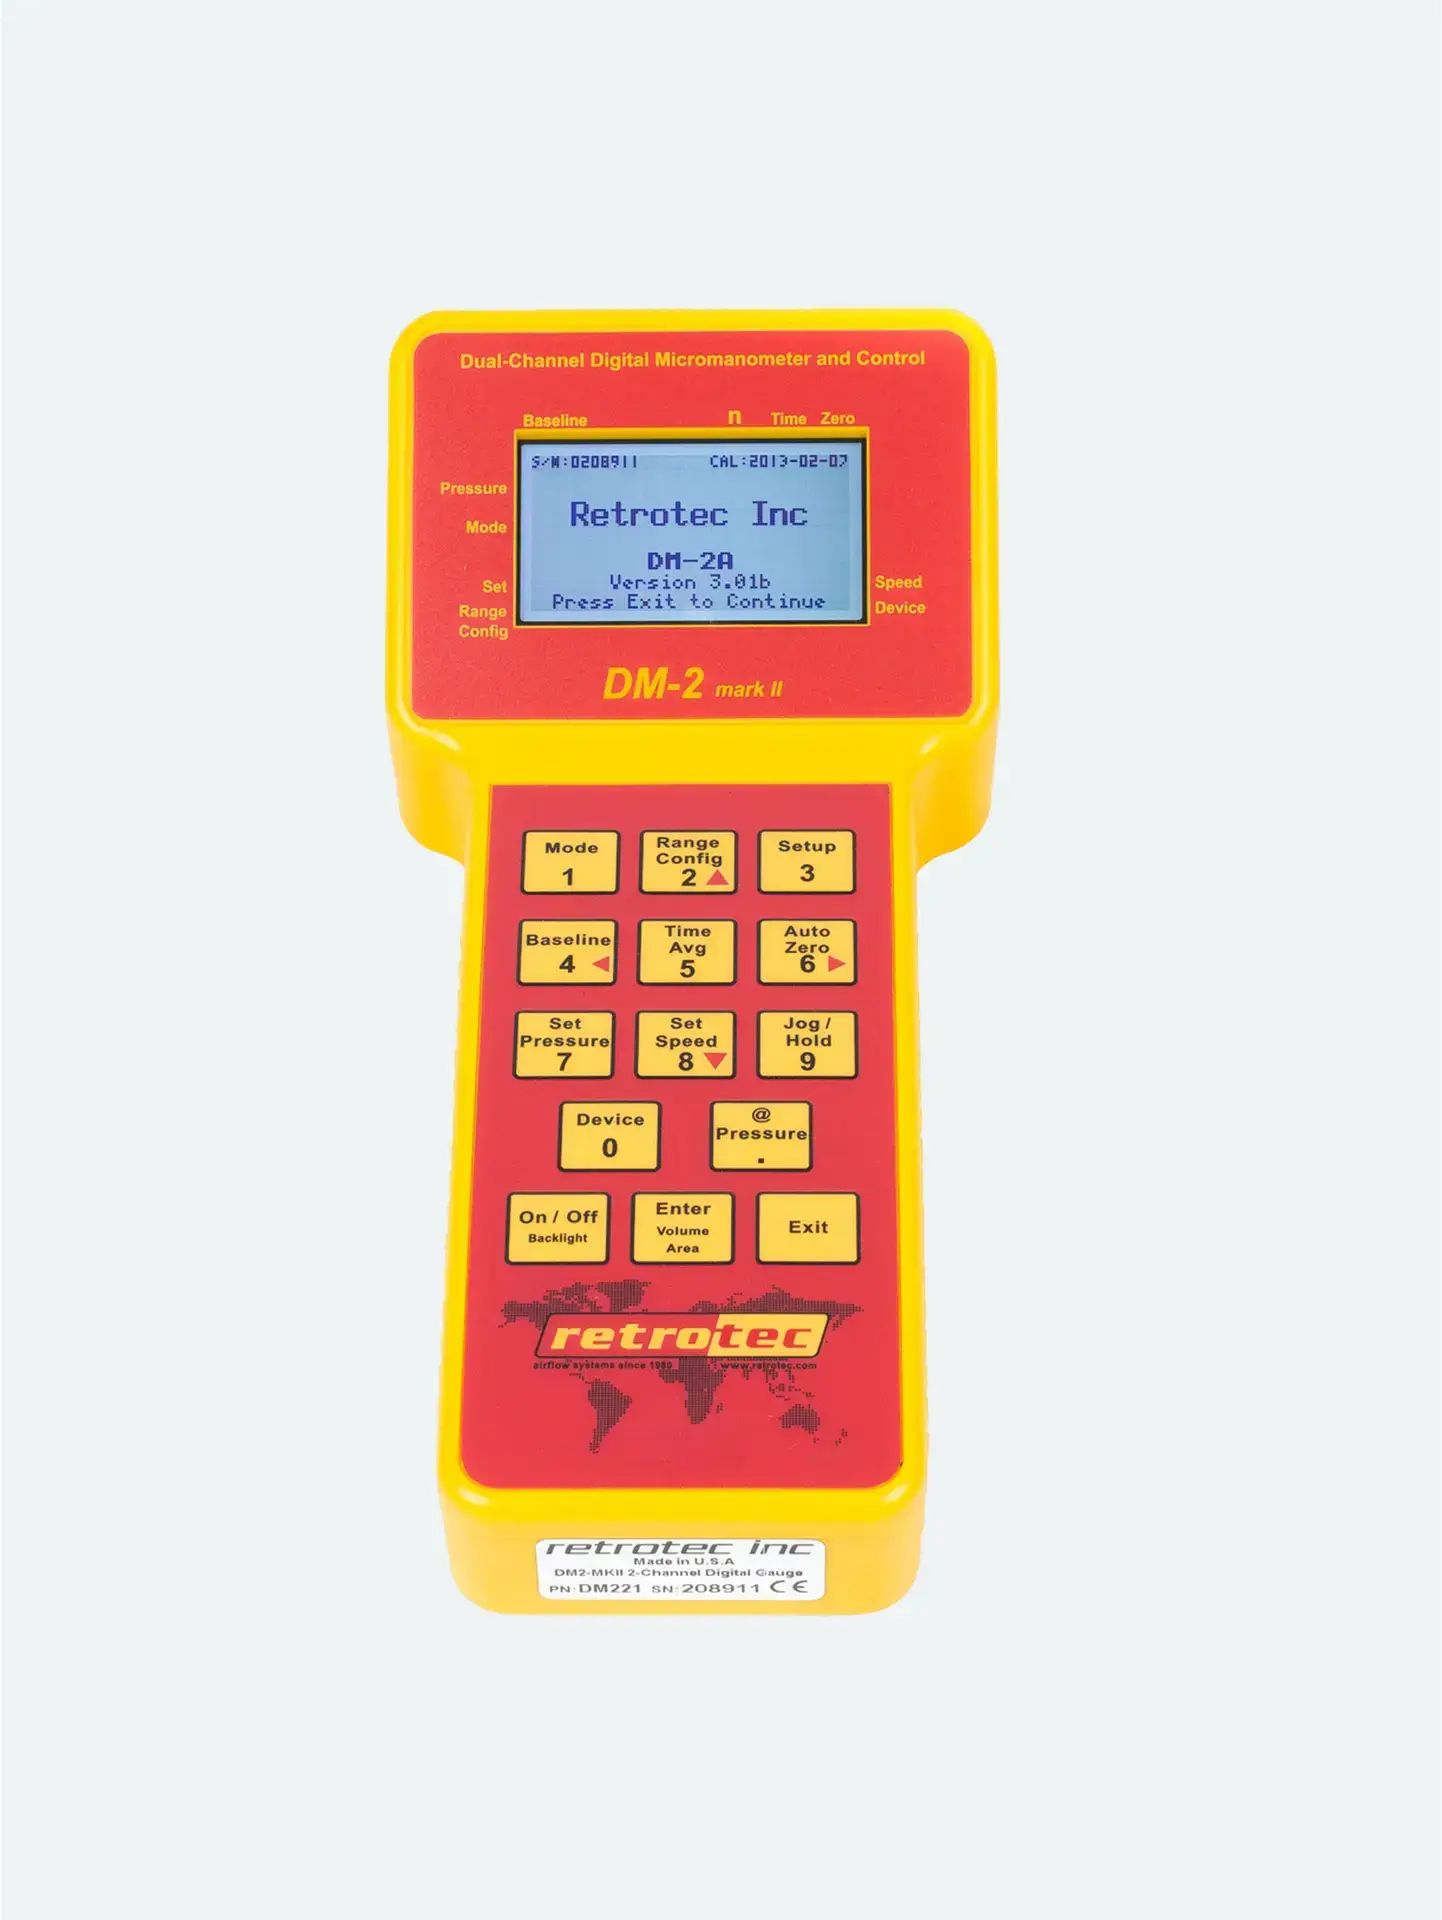
Why Use @Pressure Jogging?
Normally, you’d wait for the gauge to hit your exact pressure (say, 50 Pa) before recording airflow. But in leaky buildings or low-flow situations, that’s not always possible—even at maximum fan speed.
Rather than settle for inaccurate “too low” readings, jogging uses measured data at a nearby pressure to mathematically estimate the flow at your desired target. It’s a calculator on-the-fly.
How to Jog with @Pressure
Activate Set Pressure Mode
Use the gauge to target your desired pressure.
Wait for Fan to Ramp Up
Let the fan approach—but not necessarily reach—the setpoint.
Enable @Pressure Mode
Tap [@Pressure] to turn on flow extrapolation to your target.
Jog the Pressure
Press the Jog keys to slightly increase/decrease the target until “@Pressure” reads exactly your desired Pa (shown under Channel B).
Record Flow Reading
Once stabilized, note the CFM@Pressure displayed—this is your estimated flow at the exact test pressure.
Key Considerations
Accuracy of n-value: Use the correct exponent (n ≈ 0.65 for homes, 0.60 for ducts) to ensure accurate extrapolation.
Use only when necessary: Jogged readings are an approximation—best used when physical pressure limits prevent reaching the setpoint.
Proper stabilization: Wait for the reading to stop fluctuating before recording.
No @Pressure on Set Speed: Jog keys only appear when using Set Pressure mode.
